
Designing a Custom Load Screen
For your information, a custom load screen is a Premium-only feature. Please make sure you've upgraded your project to Premium before you proceed with reading this documentation.
❚ Preparing Assets for the Load Screen
Before we start learning how to create a load screen, we should get familiar with what assets we will need.
❏ Save Slot buttons
Please prepare a button that will act as the save slot. When you design this button, please keep the design as minimal as possible because we'll be needing some spaces to add several texts in it.
❏ Exit Button
This button will be used to exit the load screen. If you do not have any ready, feel free to check out our Resources Gallery as there are many exit buttons ready to use provided by our amazing community members.
❏ Background Image for the Load Screen
Lastly, you will need two background images of the load screen. Both images will have Load and Save as its title respectively.
If you've prepared all assets, please upload them to the project's library according to their category. Since you're using premium, you may use the bulk upload feature to speed up the process!
TIPS: If needed, you may use the “Fill in Stage” options to scale the image automatically to fill the stage. You can find them in the Library image settings.
❚ Enabling the Custom Save Slot in Settings
Before we start creating our load screen, there is one more important step that we need to take which is enabling the custom save slot in settings.
- Go to the project's settings by clicking the Settings tab.

- Scroll down until you see the Engine Settings.
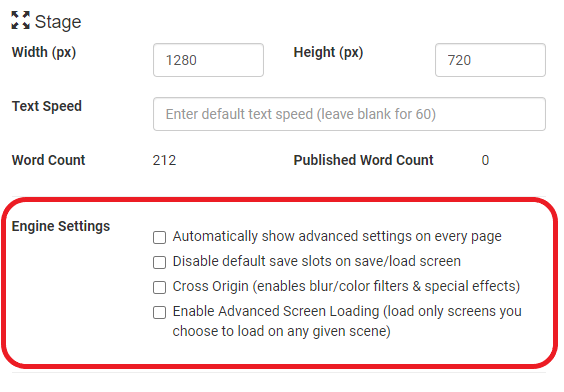
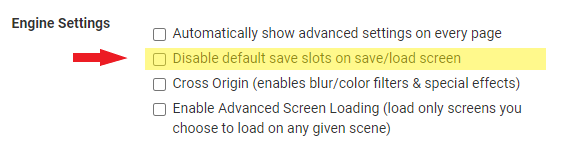
- Under the Engine Settings, enable the [Disable default save slots on the save/load screen] option.
- Then, scroll down once more until you see the Add-Ons button. Click it.

- A dialogue box will appear with a bunch of additional settings. There will be two options you will need to enable before we can start creating our load screen.
In the Library section, enable the [Show button typography design options].
In the Animation section, enable the [Show save slot animation in the scene editor].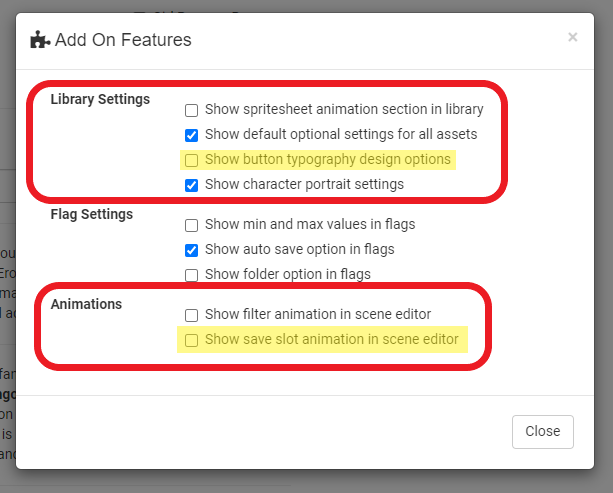
- Once you've enabled all required settings, wait until all changes are saved.
❚ Creating the Load Screen
All preparations are ready so it's time to create the load screen.
❏ Create a Screen
- Enter the screen map by clicking the ‘Screen’ tab.

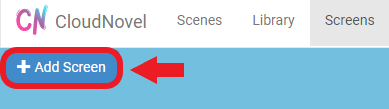
- Create a new screen by clicking on the 'Add Screen' button on the top left corner of the screen map.
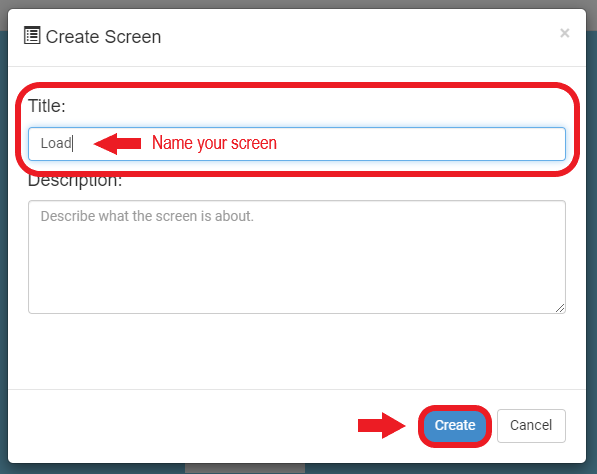
- Name your screen. For this tutorial, we'll name ours as Load. You may name it, however, suits you. Then, click Create.
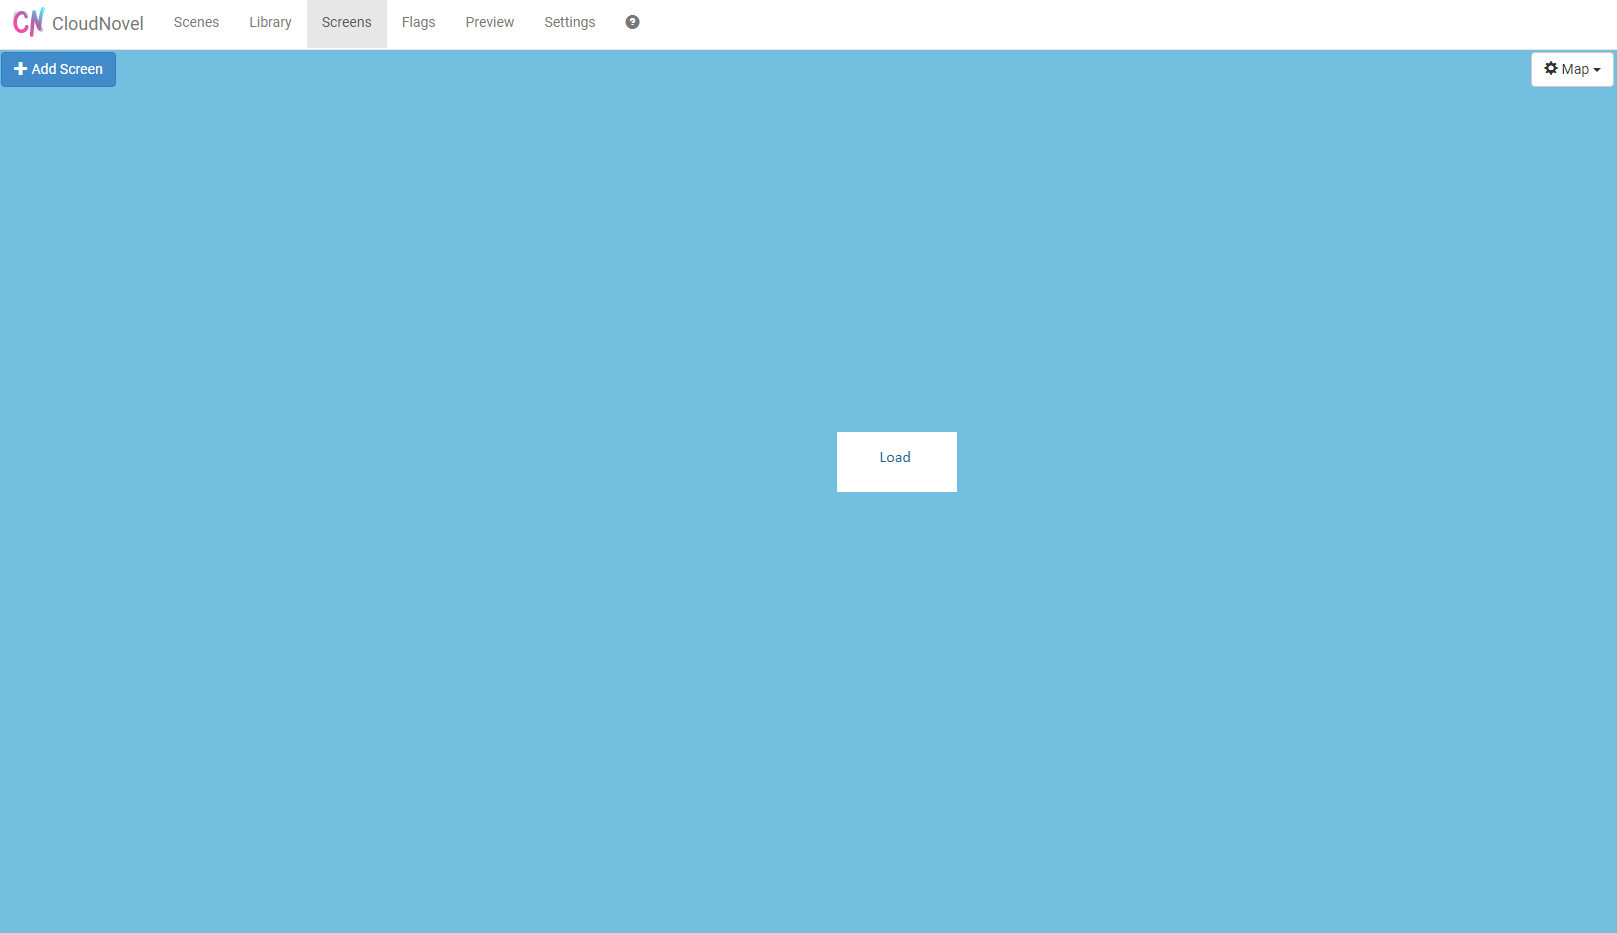
- If a rectangle box appears on the screen you've successfully created a screen.
❚ Designing the Custom Load Screen
❏ Adding a Background Image
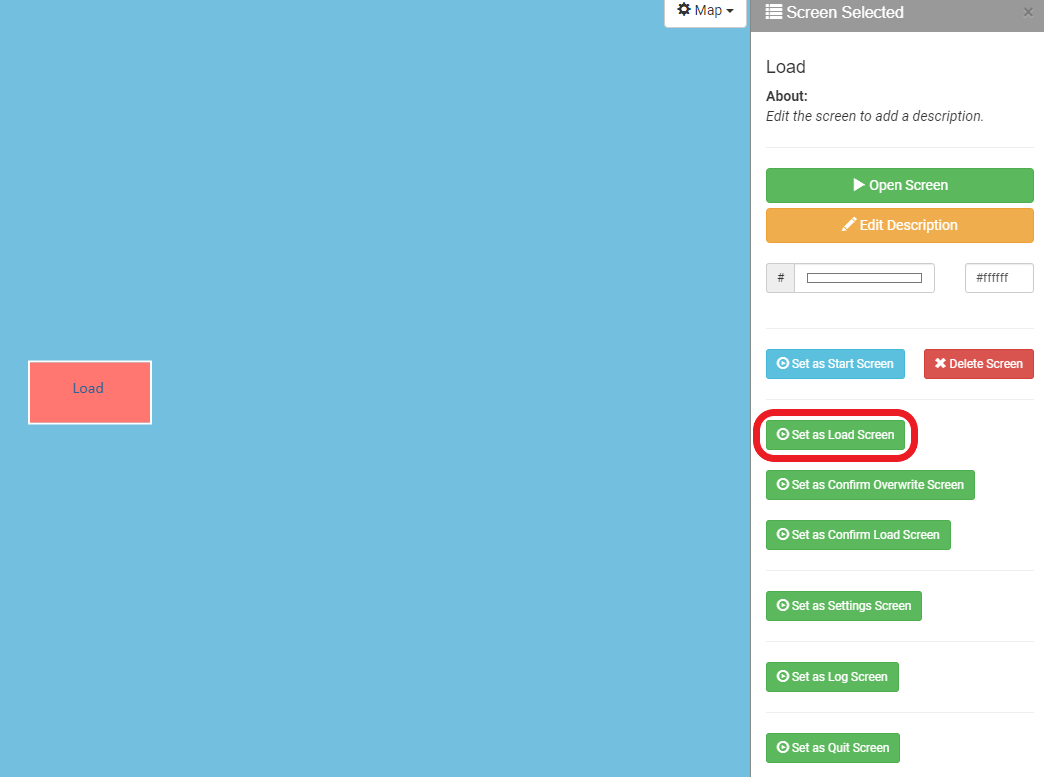
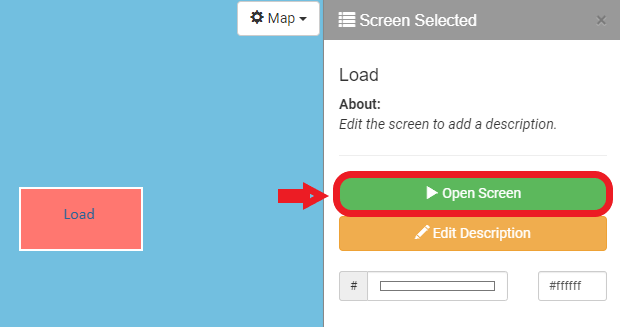
- Once you've created the load screen, please select it and set it as Load screen.
- click the Open Screen to enter the screen.

- Currently, your screen should have nothing in it because it is still a blank screen.
Click the ‘Settings’ button and enable the option to prevent this screen from clicking anything beneath it.
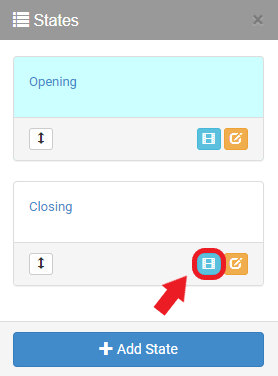
- By default, you'll have two different states which are the Opening and Closing states inside a screen.
Open the timeline of the Opening state by clicking on this blue button.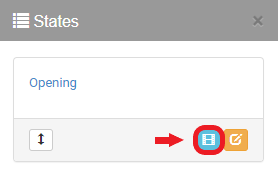
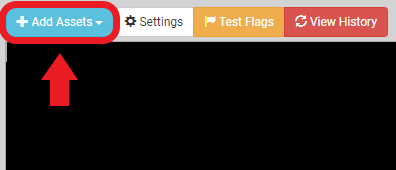
- Click the Add Assets button and add the background images to the load screen.

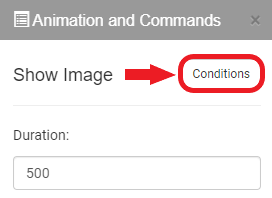
- Select the background image with Load as its title and use Show Image. Position the image however you like.
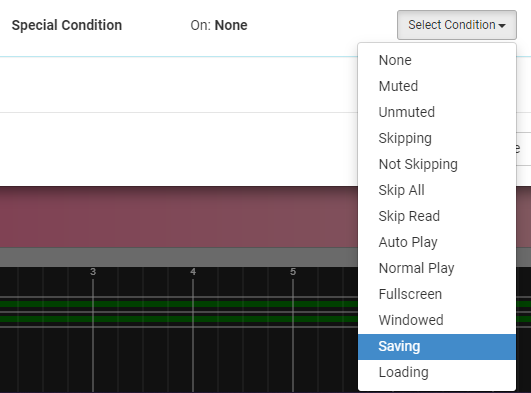
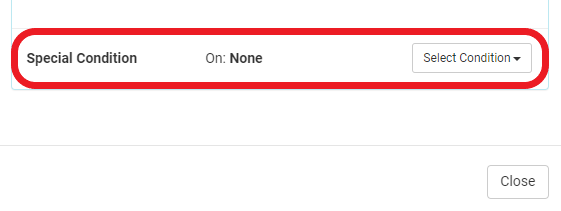
- Do not save yet. Look for Condition at the top of the Show Image panel and click on it.
- Scroll down until you see Special Settings.

- Click Select Settings and choose Loading.

- Close the dialogue box and save changes.

- Repeat Step 5 to Step 9 with a Save background image. At Step 8, choose Saving for the Special Settings.
- Save all changes.
❏ Adding Save Slot Buttons
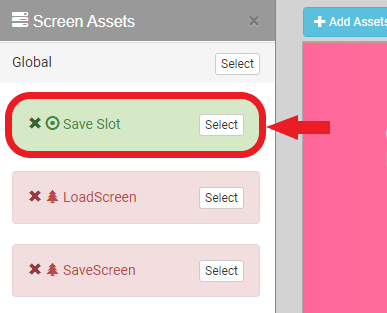
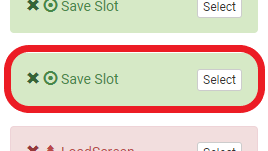
- Click Add Asset to add the save slot button to the load screen.
- Select the save slot button.
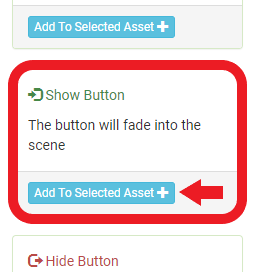
- Show the save slot button by choosing 'Show Button' in the Animations & Commands panel and move the button to a nice position.

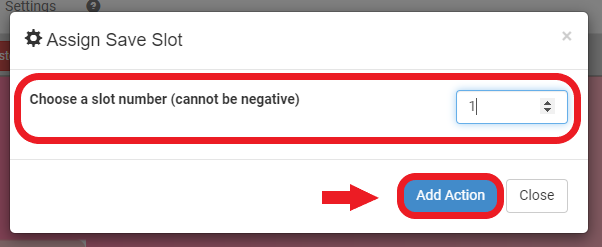
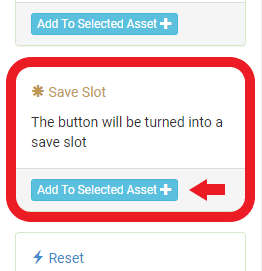
- Add a Save Slot command to the button.

- Assign a number to the save slot and click Add Action.
- If you want more save slots, you may repeat Step 1 to Step 5 for as many save slots as you want.
However, it is very important to make sure the assigned number for each slot is unique. If any of the numbers overlap, it will cause an error.
❏ Adding Exit Action to the Load Screen
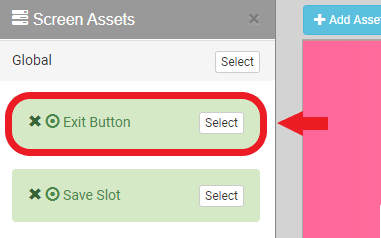
- Once again, click Add Asset and start adding the exit button.

- Select the exit button in the Assets panel to enter the asset's settings.
- Show the button using Show Button animation and move the button to a nice position.
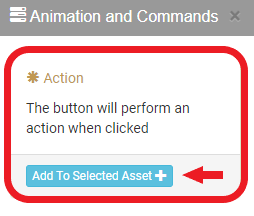
- Then, add the Action animation to the exit button.
Choose Close for the Action and select your load screens in the screens list.
- Close and save changes.
❏ Configuring the Global Settings
You may not see it right now but if you test the load screen in the Preview at the moment, a textbox and options on top of the load screen and it will ruin the look of the game, so let's configure it and make the screen look nicer!
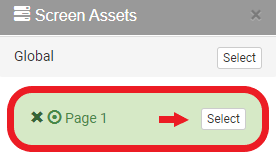
- To do this, make sure you are inside the Opening state.
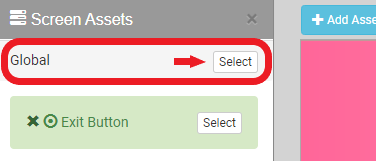
- Look at the corner of the Scene Assets panel and you'll find a button called Global. Click on it.
- In the Animation and Commands panel, look for Hide Textbox and Hide Text animation and add it to the timeline. This will hide the textbox and the dialogue text when a player opens this full screen display of an illustration.
This is optional but you may want to add Hide Options as well.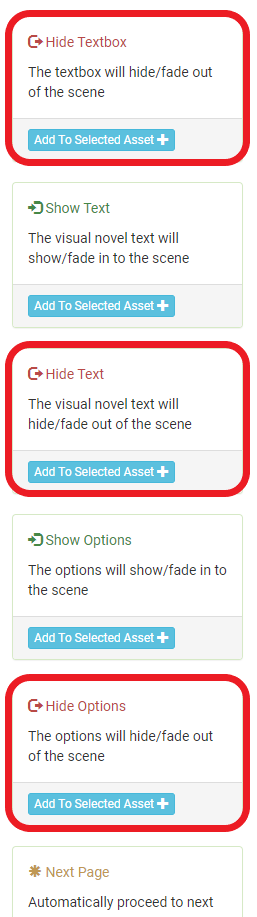
- Exit the Opening state and enter the Closing state.
- Locate the Global button at the top left of the Assets panel and click on it.

- This time, instead of hide animation, you will need to find show animation of all global elements you've hidden in the Opening state.
In our case, we'll need to add Show Text, Show Textbox and Show Options.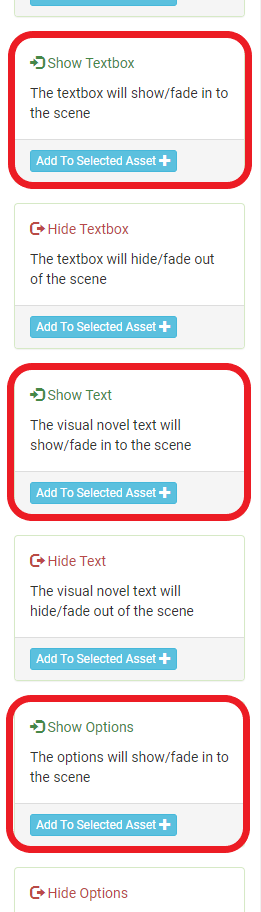
- Save all changes and you're done with this screen.
❚ Setting Up the Load Screen
You may be done with setting up the load screen but we still have several steps before we finish this tutorial.❏ Establish a Button to Open the Load Screen
Before we go any further, let's establish a button that will open the Load screen.
- Locate the button that will open the load screen. Generally, this button will be placed in the Main Menu but it also depends on your game's interface design.
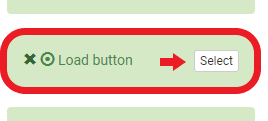
- Select the button and add Action animation to the button.
- Scroll down until see Special Settings.
- Click Select Settings and choose Loading.

- Close and save changes.
- If you also have a button for saving, repeat Step 2 to Step 5 but this time, choose Saving for the special settings.

- Save all changes.
Now, we need to set up messages in the save slot.
- Go back to the project's library by clicking the Library tab.

- Select Button to enter the button category.
- Click the save slot button to open the button's settings.
- Scroll down until you see the Main Message Preview.
The Main Message is the text you see on the save slot button.
If a save slot is empty, it will appear as [Empty Slot], if it is occupied, it will show whatever dialogue on the page you have saved.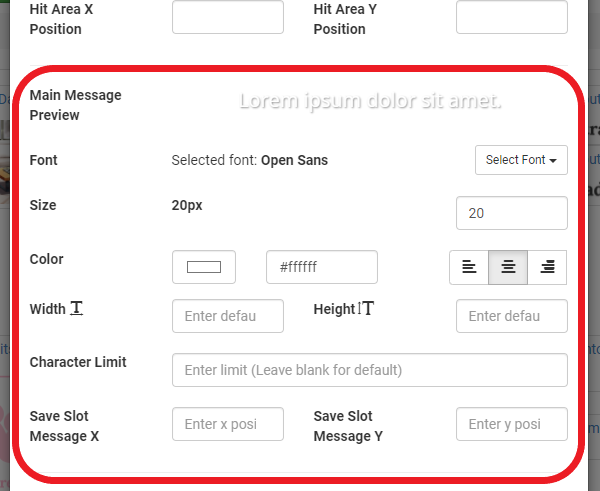
- Edit the main message's settings until you are satisfied with the look of it.
[b][/b]TIPS: For the text width, make sure it does not exceed the width of your save slot button.
- Scroll down again to find the Save Slot DateTime section and play around with the settings until you're satisfied.
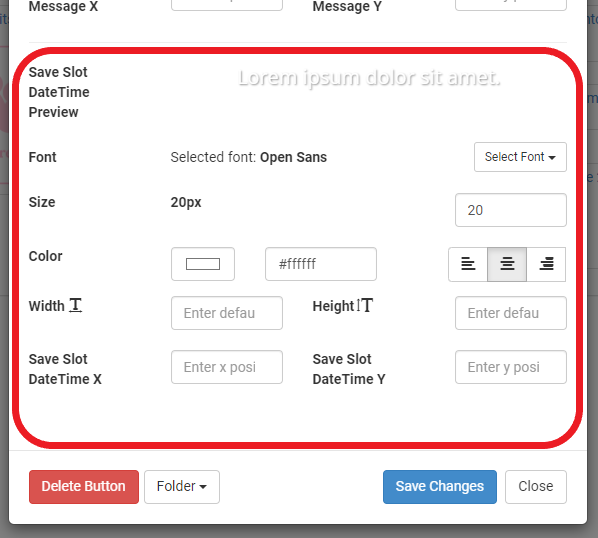
- Make sure all changes are saved.
- Open the Preview tab in a new tab by right-clicking it and choosing Open in a new tab.
- Test the load screen in the Preview by saving some scenes and opening it in the load screen.
- If you dislike the setting of the messages in the save slot button, open the Library tab and adjust it to your liking. Then, go back to Preview in another tab and reload the page.
- Repeat step 10 until you are satisfied and once you do, you have finished making a load screen!
❚ Multi-pages Load Screen
This is optional but if you want, you can also add more pages in your load screen. Below are the tutorial on how to do so.
❏ Upload the Buttons in the Library
- First, you need to have buttons to navigate the pages. It can be a simple numbered button as below.
- Upload all buttons in the library. If needed, you can make a folder to organize your library.
❏ Adding the Pagination Buttons in the Load Screen
- Open your load screen.
- Enter the timeline of the Opening state.

- Add the pagination button to the screen by clicking Add Asset and dragging and dropping the button.

- Make sure your buttons are above the background image.
- Select one of the pagination buttons and add Show Button animation. Place the button in a nice position.
- Save changes when you are satisfied.
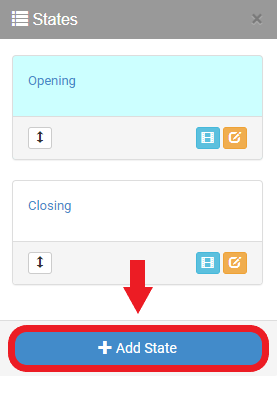
- Exit the Opening state.
- Click the Add States to add more states.
- When the dialogue box appears, name your state as Page 2. The Opening state is considered as Page 1.
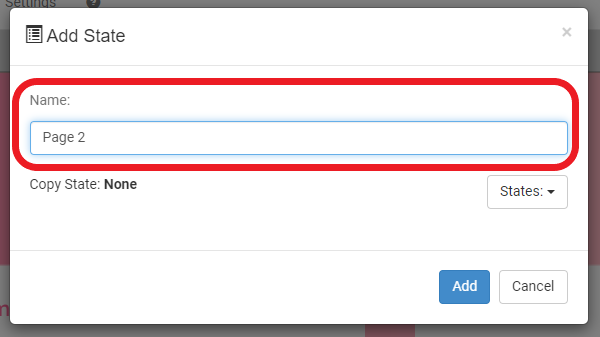
- Find Copy:- underneath description box. Select Opening to copy the opening state.
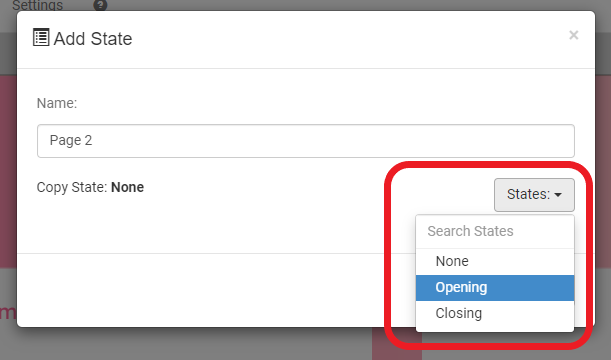
- Close and save changes.
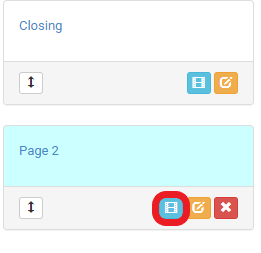
- Enter the timeline of Page 2 state.
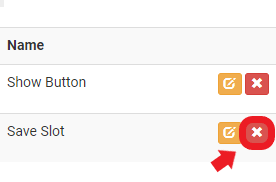
- Select the save slot button.
- Remove the existing Save Slot animation.
- Add a new save slot and assign a slot number. Remember, every save slot needs to be assigned a unique number. It cannot be the same number you used before.
- Repeat Step 13 and Step 14 for the rest of the save slot buttons within the state.
- Exit the save slot button and select the pagination button that will direct to Page 1.
- Add Action animation to the button by choosing Open for its Action and Opening for the screen list.

- Save all changes and exit Page 2 timeline.
- Go back to the Opening state.
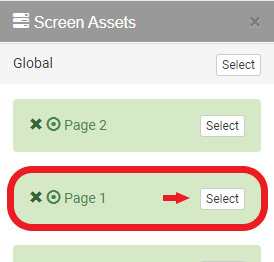
- Select the pagination button that will open Page 2.
- Add Action animation to the button.

Choose Page 2 for Action and choose Load for the screen.
- Save all changes.
- Repeat steps for the rest of all your pagination buttons.