It is very important to know the workspace. This post is going to introduce the basic workspace you are going to handle while you are using the CloudNovel engine.
After you successfully create a visual novel, it will be stored on your dashboard page.This is one of the reasons why you need an account to create a project using our services. All projects in your dashboard page are stored in our database so you may access it from any devices as long as you are logged in.
Dashboard
To access your dashboard from the homepage, all you have to do is click the Dashboard button on the top navigation bar.
.png)
Vertical Navigation Bar
Here, projects are differentiated according to project type. Please take a look at the vertical navigation bar. There are 3 tabs in the vertical navigation bar, Visual Novels, Dress Up Games, and Resources. If you have created a visual novel, your game should be located under My Projects of Visual Novel section. If you created a dress up game, it shall be located under My Projects of Dress Up Games section.
Resources mean assets you have posted in CloudNovel Resources. Just like a visual novel and dress up game, if you have posted a resource before, it will be located in the Resources section.
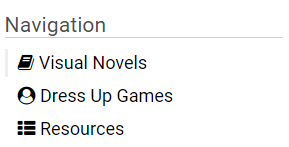
In this guide, we will focus on Visual Novel only.
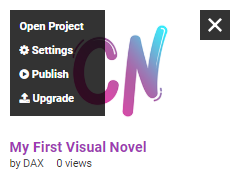
Hover on your project. This will show 3 or 4 black buttons.
- Open - this will open your visual novel and you will be navigated to the Scenes Map of your visual novel
- Settings - this will open your visual novel settings and you will be directed to the Settings of your visual novel
- Publish - (if your visual novel is unpublished) This button will prompt you to publish your visual novel, or Play (if your visual novel is published) This button will navigate you to the play page of your published visual novel
- Upgrade - (only available if you have not upgraded your visual novel project to the Premium version) It will upgrade your project from the Free version to the Premium version. It will costs you 1000 points whenever you upgrade a project.
Click Open to open your project.
Top Bar

Different navigation bar in the engine
If you have noticed, inside an engine, you will find a different top navigation bar from the usual CloudNovel site. As to not confuse you, this post will brief you on the function of each button.
- CloudNovel Logo
Clicking the logo will navigate you to the dashboard. In the dashboard, all of your created projects will be located here. - Scenes
This is the name of the page you are currently at. If you noticed, the Scenes button is colored grey while the rest are white. This is an indication of your current page. To be fair, the right term we used for this page is Scene Maps so please do not confuse between and scene maps. We will discuss more of this page in this documentation. - Library
Located beside the Scenes button, this button will let you access the Library, a page that stores all of your assets including Characters, Images, Button, Bar and so on. - Screens
You may access all of your screens here. For more information about the screen, please visit this documentation. - Flags
This button will direct you to flag page where you may add, edit or organize all of your flags. If you are planning to create more than a simple visual novel, this will be one of the buttons you will always frequent. - Preview
Just like the name, this button will preview the hard work you have done into one playable visual novel so you can check it before you publish it. - Settings
The button will direct you to the settings of the visual novel. In Settings, you may edit the name or description of your visual novel and a lot more! We will talk in details, here. - (?)
This little (question mark) button here will open the interactive tutorial again so you may view it anytime.
Scenes Map
If this is your first time on the Scenes Map, you will be greeted with a blue screen and an interactive tutorial prompt box if this is your first time. You may choose to Dismiss or Launch Tutorial.
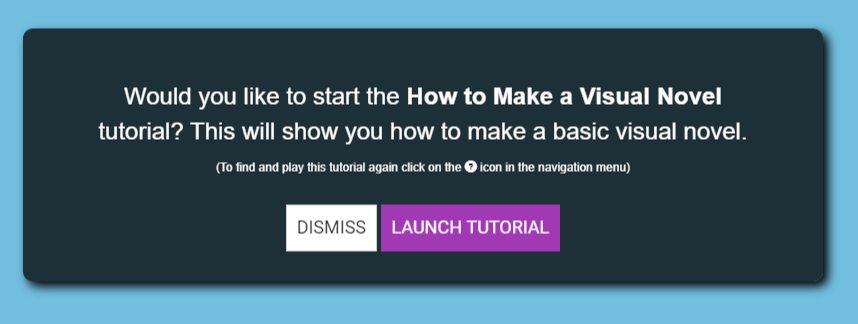
Choose Dismiss or Launch Tutorial
If you decided to launch the tutorial, you will be guided by Princess Sonya in the interactive tutorial. Please be noted that an interactive tutorial is not a guide-you-along kind of tutorial, however, it still contains various useful information so you may choose to try it.
If you choose to dismiss the tutorial, another tutorial prompt will show up. You can keep dismissing until you see no more tutorial prompt. Fret not, the tutorial shall be available at any time if you click the (?) button beside Settings.
Scene VS Scenes Map
Scenes are the main feature in creating a visual novel using CloudNovel. This is where you add dialogues, narration and etc and blowing life into your visual novel.
A scene map, instead, is a collection of all of your scenes. In the scene map, you will map out your project and see which scene connected to another scene.
- +Add Scene button
Under the top bar, you will see a red button which said Add Scene. Just like its name, the function of this button is to add scenes into your visual novel.
- Scenes Panel
On the outermost right of your screen, there is a panel called Scenes. All of your scenes will be listed here.
Underneath the Scenes panel title, there is a search bar. This search bar can be used to search the scenes quickly by entering the scene name.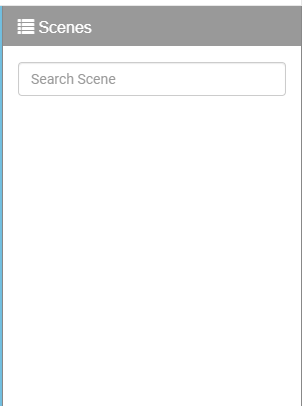
- Maps
Straight across the Add Scene button, you will find a white button named, Maps.
If you click on this button, you will be given the option to choose Color or Rearrange. By choosing Color, you will be able to change the color of your scene map to whichever color that better suited the theme of your game. This feature will not affect the outcome of your project in a way but it is a nice little feature we have to satisfy your aesthetics.